So, you have a nice old boat that is looking a little weather beaten and you’d like to freshen her up? Or perhaps you’re considering purchasing an older boat that’s available for a steal on Craig’s List? And you foolishly think that you have the skills and time to do it yourself? And you have a dry place to do the work? And your spouse is really OK with all this? There actually are a few people, a very few people, who can actually accomplish this restoration in a reasonable amount of time. And you think you’re one of them? Here’s my advice: take the boat straight to the nearest boatyard, sign off a blank check and just walk away. Even if the yard can’t get to your boat for another six months, it’s still way faster than you’re ever going to do it. Prospective boat restorers notoriously suck at estimating how long a restoration project will take, and are even worse at guessing how much it will cost. Can’t afford the $20K paint job from the yard? Well, consider spending down your kid’s inheritance… Or maybe their college fund. College is over rated anyway. Send them off to work in the trades, and enjoy your shiny perfect paint job!
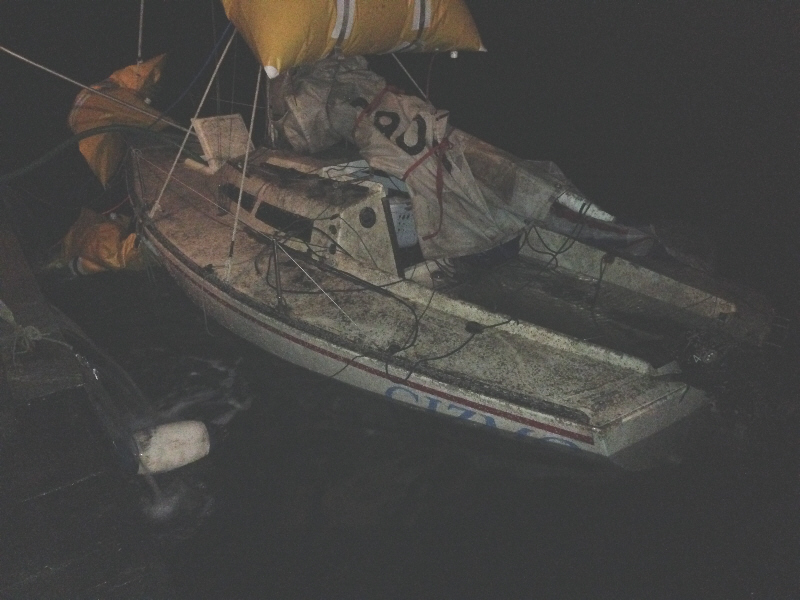
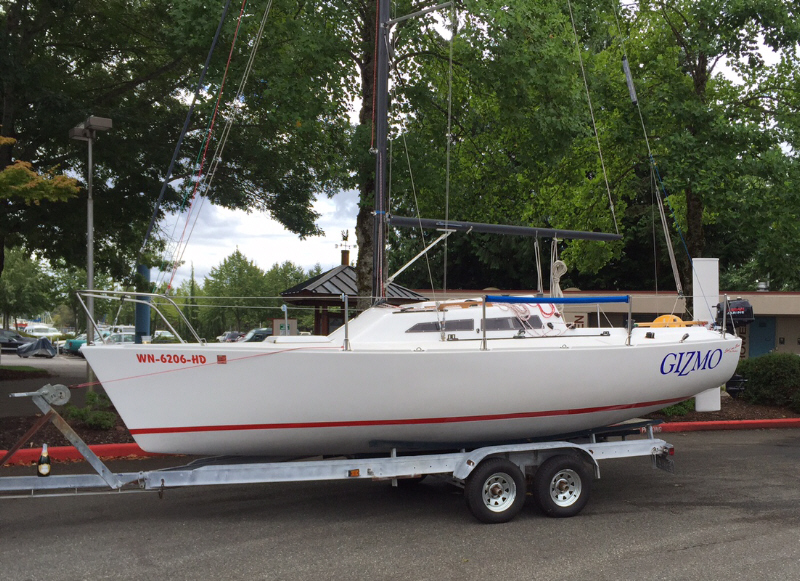
But if you insist on proceeding, despite all my warnings, then go for it! Gizmo came out well. Yes, I can point out all the defects but she passes the 5’ test. Hopefully, you can find somewhere indoors to do the work so you can work through the crappy winter weather and enjoy her during the beautiful summer. It’s very hard to get a good paint job outdoors, especially in the yard with all the dust. If it’s not dust, its pollen. Or insects… I have heard of people getting around the dust issue simply by buffing out the final coat with 1200 grit paper and then applying wax to return the shine. The problem with this approach is that you need to reapply the wax two or three times a year. The better option, one that I also adhered to, is to pick white for your hull color. Dark colors will show every surface flaw, every brush stroke, every insect imprint. White hides everything!
Before you get started, please let me know so I can run out and buy stock in 3M. A little insider information never hurts. You are going to go through so much sand paper, your head will spin. But we wouldn’t be working on this project if we weren’t all cheapskates. And so we all tend to try to get our money’s worth out of every sheet of sand paper. Get over it! You’ve already committed to an endless hemorrhage of cash when you started this project. Change the paper frequently! And get the good stuff. New sand paper cuts cleaner, scratches less and wastes less energy. Don’t use hand sanding if you can help it for anything less than 220 grit. There are areas that you just can’t use a sander on and you’ll have to break that rule, but it’s a good general rule. And use a sanding block, maybe a flexible one or a curved one, instead of wrapping the sandpaper around your fingers. I also suggest you use disposable gloves while sanding. It preserves your fingerprints. If you don’t have a spouse, go ahead and let your fingers get gnarly, prickly and manly. But if you do have a spouse, and you have any intentions of romance…. Just saying….
Choosing a paint brand is quite the chore. Prepare to be shocked at the price for good yacht paint. And also consider that a good portion of that paint, probably more than remains on the boat, will end up in the vacuum cleaner after you sand between coats. It’s quite painful to empty the vacuum and see $300-$400 of paint going into the trash. Two part linear polyurethanes provide a tougher finish with a longer lasting gloss than one part finishes. They are far more expensive and are more exacting in their application. Two part paints cannot be applied over the top of one part paints. They will lift the under coat like paint stripper. If your boat is just gelcoat, then you’re good to go. Just spend some time with a good dewaxer before you start sanding and filling in all the scratches. Sand the gelcoat to only 100 – 120 grit for the primer for maximum adhesion, and go to 220 grit when you apply the finish coat. Every paint brand is different, so get over your manliness and read the directions. Or let your spouse do it and actually listen to her / him for once…
\Speaking of filling the scratches, don’t use automotive Bondo on a boat. It will absorb water even through the paint and eventually crumble. And it doesn’t fit the theme of spending endless amounts of money…. Spider cracks in the old gelcoat have to be opened up and filled with putty. If you simply paint over them, they will show up immediately through the new paint. Your common can opener, the old fashioned kind, is perfect for scratching open the spider cracks. Every good shop, and even most not so good shops, have can openers. Don’t forget your safety equipment. If you can’t afford a good respirator, don’t even get started. Yacht paint rots brain cells even faster than the boob-tube.
The boat really needs to be stripped of gear before you paint. It’s a good time to reseal all the fasteners especially around the windows, and those winches probably haven’t been greased in the last ten years anyway. Tape what you must, but it’s very hard to do a good taping job so that it doesn’t show. And never leave masking tape on a boat for more than a couple of weeks if it’s indoors and a few days if it’s out of doors. Use only brand new, good quality masking tape. Lighten up and spend some money! After all, you already spent $350 per gallon on the paint!
If you have the ability to spray the boat, well this article probably doesn’t apply to you. Spraying in an environmentally controlled paint booth results in a very professional finish. But you can’t afford it. No problem. You can get fairly good results using the roll and tip method. At least it’s good enough to pass the 5’ test. But you’ll need to sand every coat between coats so that you are always applying the next coat to a perfectly smooth surface. This is where at least half of your expensive paint ends up in the vacuum. I ended up applying at least three coats of finish coat on Gizmo, of which maybe one coat plus a little bit remains. It’s really frustrating to sand between coats and end up sanding through the previous coats all the way to the gelcoat. Choose a low-nap high quality roller and apply paint to a very small area (maybe 3? x 3?;) in both vertical and horizontal strokes to make sure you have complete coverage. Apply the minimal amount of paint possible to cover the area, and don’t use brushing thinner. You’ll get sags and runs. Then take a foam brush and very lightly run the tip over the paint knocking down any remaining stipple from the roller. I like to do the tipping horizontally. Have plenty of foam brushes available. As they get full of paint, start with a fresh one. Sometimes the paint will disintegrate the brush, so you have to exchange it frequently. Always try to work from a wet edge so the next painted area will merge into the previous one. And try not to run out of paint until you get a hard corner like the edge of the transom. That’s a good place to hide a paint seam. And when you get a run or a sag, leave it. Trying to fix makes it far worse. After it dries, sand it out and repaint.
I’ve been asked more than once how I got such a great deal on the carbon fiber mast for Gizmo. The answer is to get lots of bids. I spent a lot of time measuring the existing mast and penciling up a scale drawing of it. Then I simply shot-gunned it out to every mast manufacturer I could find online. The results were all over the place! Aluminum masts from $5,500 to $9,000 each, and carbon masts from $4,500 to $17,000! Huge differences for the same mast! But if you get lots of bids, then your chances of getting a good one improve dramatically. I bought Gizmo’s mast from Forte Composites for $4,500 (before I jacked the price up with all the options and standing rigging). They are an OE manufacturer for both Melges and J-Boats, plus half a dozen other builders, so obviously the quality is there. Gizmo’s mast is beautiful, though if I was to do it over I would order the white finish over the clear coat. It holds up better and doesn’t get so hot. Epoxy doesn’t like heat. I suggest you measure up your existing mast before you have the misfortune of breaking it. It’s hard to get accurate dimensions from multiple pieces.
John Thompson, Gizmo